There are different types of Bing Ad Campaigns to choose from, and all have their own unique purposes for whatever your desired outcome. Paid search ads are wonderful for lead generation and conversion, as well as SEO. Here’s how to set up your first Bing Search ad campaign….
Difference Between Microsoft vs Google Ads: Paid Search
You may better know Paid Search as pay-per-click (PPC), the point of it is to help your brand show up well in search engine results to better enhance lead conversion.
But in order for paid search ads to be successful, some careful consideration needs to go into the planning process. A good PPC ad campaign will contain these four components:
- Well-researched keywords
- Compelling and engaging copy
- An good, easy-to-navigate landing page
- Bid adjustments (if needed).
Once you’ve implemented all of the above into the campaign process, you can expect your ad to outrank your competitors, capture the attention of web-users, draw attention from pinpointed audiences, control your budget and bid spend, which will also help you with future campaigns.
How to Create a Bing Ad Search Campaign
Here is a step-by-step guide on how to set up your first Bing Ad Search Campaign:
Step 1 – Set Up a Bing Account
If you haven’t got a Bing account already, you will need to set one up.
Step 2 – Create a Campaign
To make this step easier, you can download Microsoft Advertising Editor, which will help you create and manage your campaigns.
When creating a campaign, you will need to select the location and build your target audience. Top tip: if you have a Google Ads account, you can easily import campaign data over, which will save you time. However, if you are creating a campaign from scratch, here’s what to do:
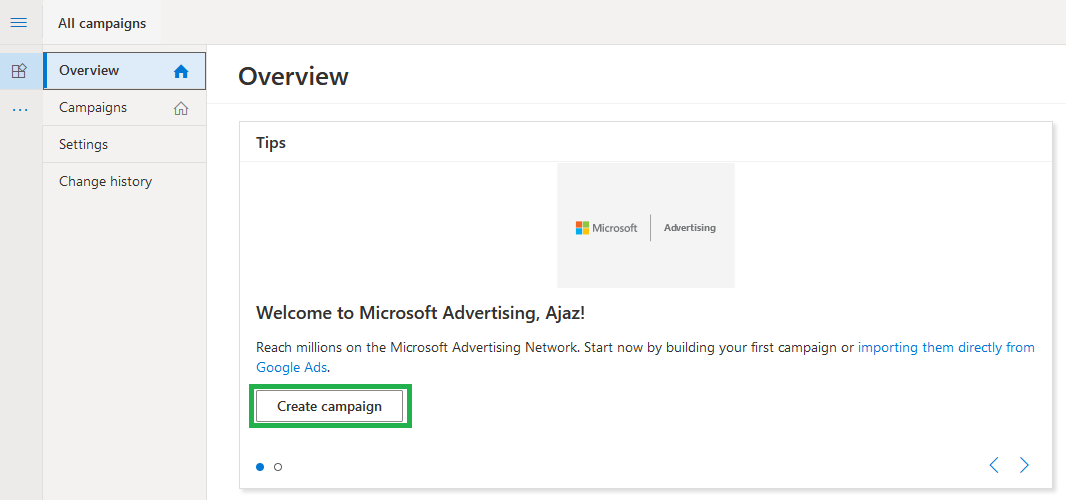
– Click ‘Create Campaign’
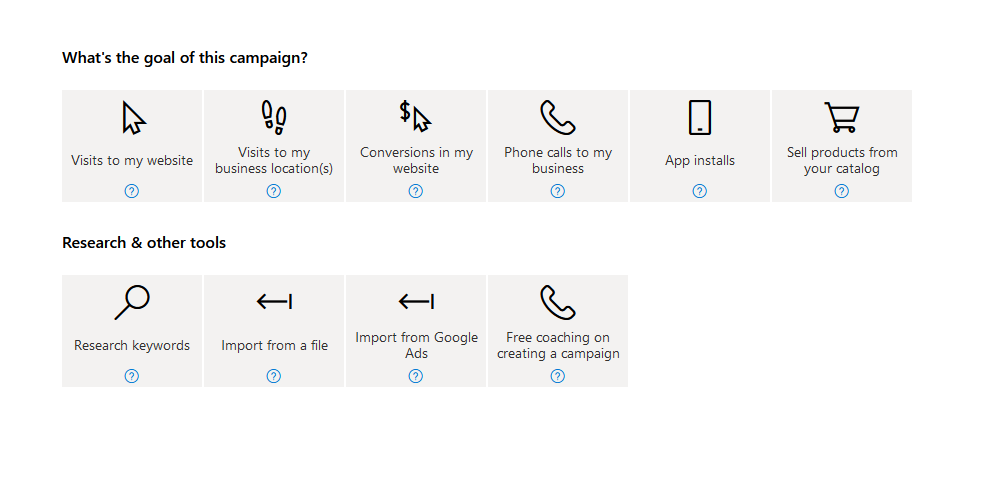
– Choose your campaign’s goal from the options available.
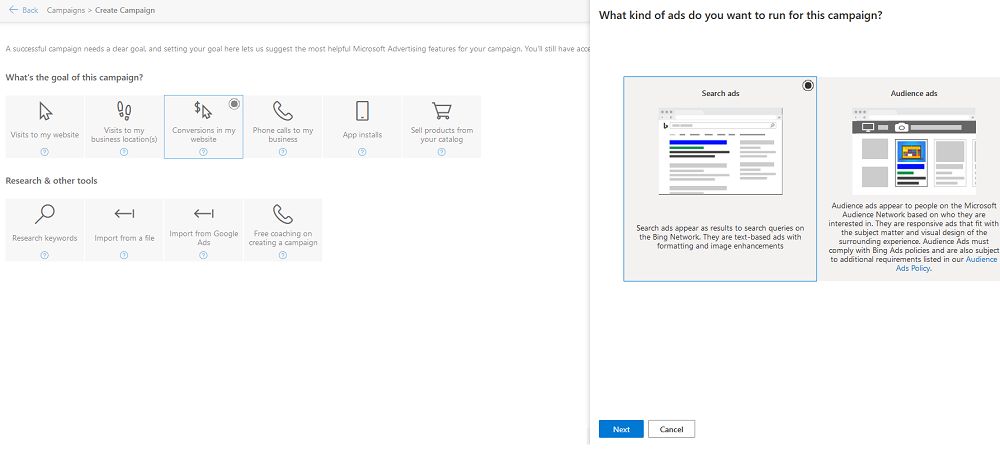
– Click on ‘Search Ads’ when asked what type of ad you wish to create.
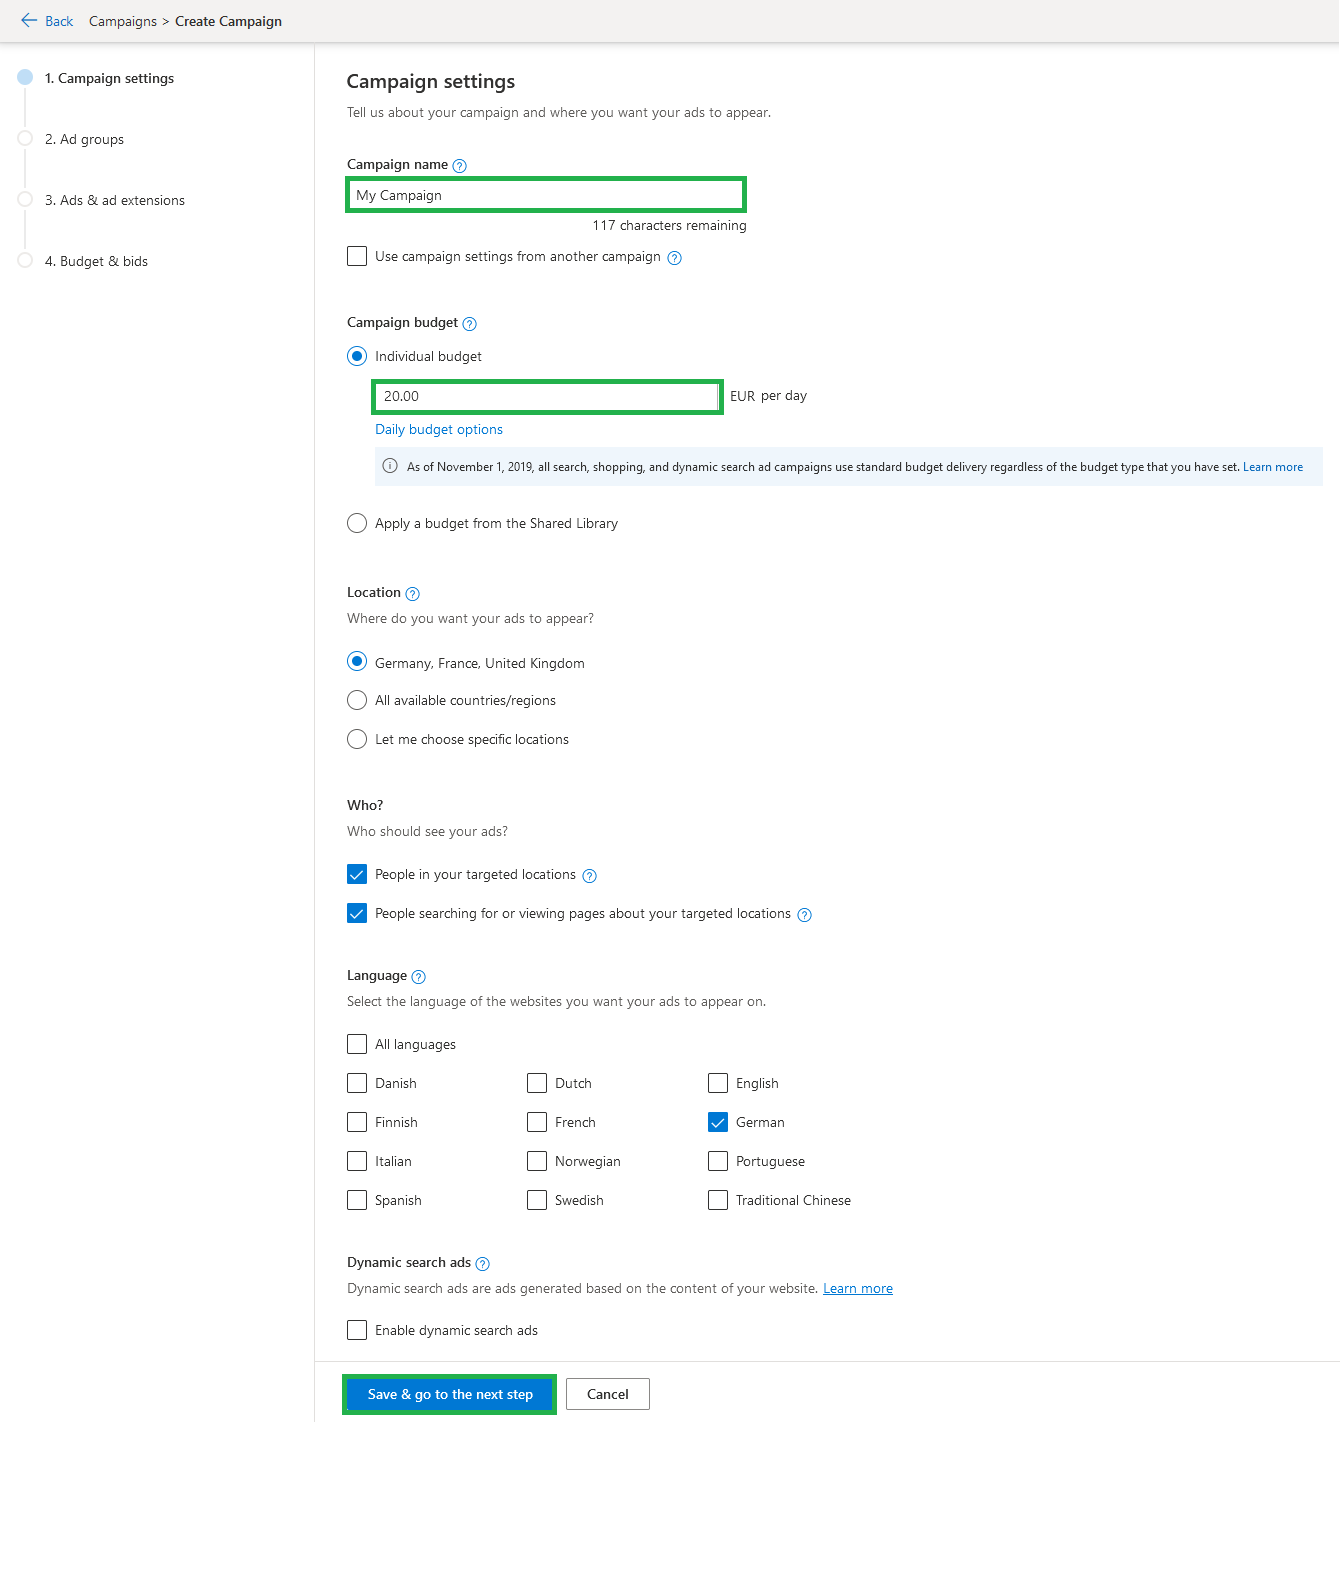
– Give your campaign a name.
– Set your daily spend in the ‘Budget’ option.
– Fill out the info about your target audience.
Step 3 – Create Your Ad Groups
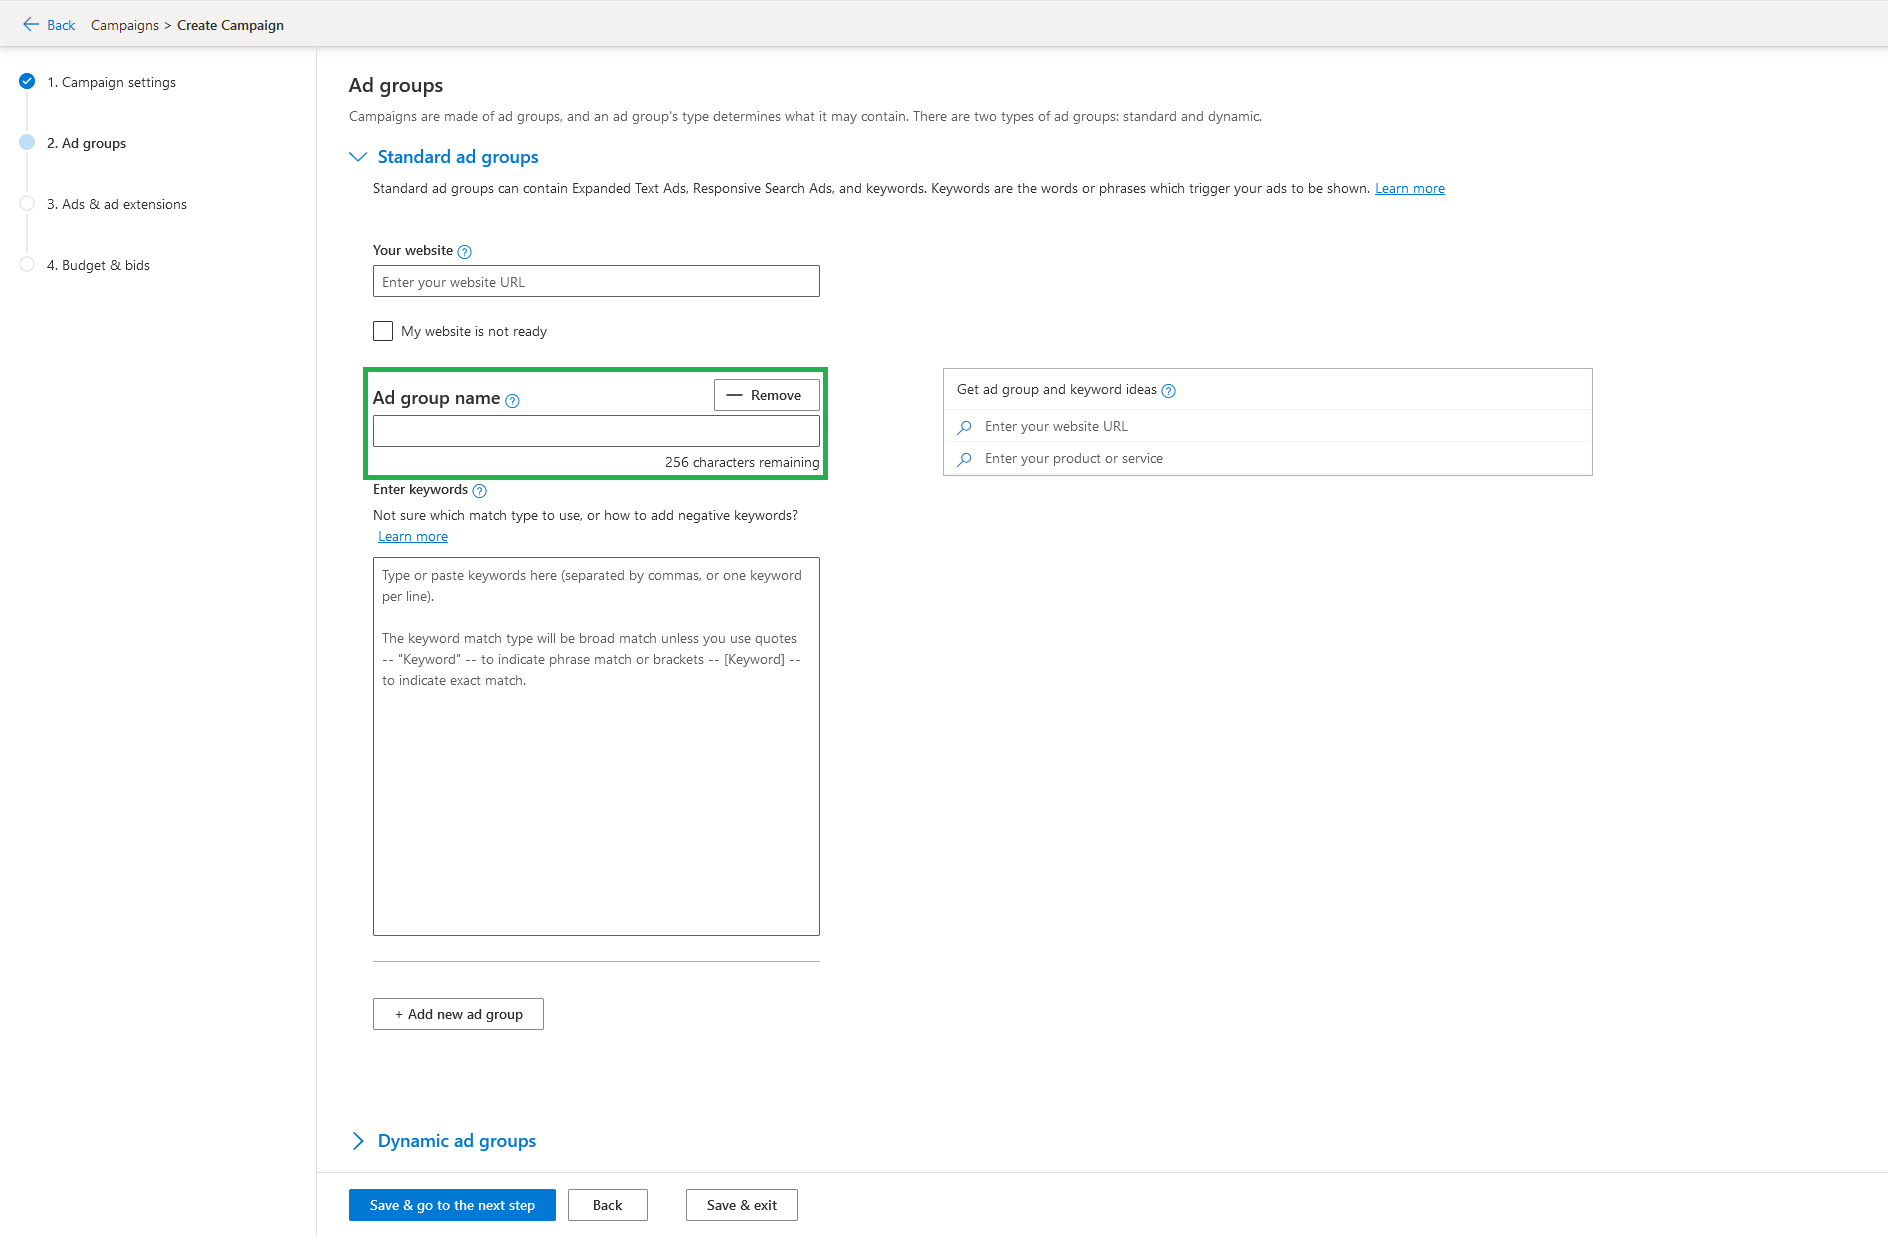
Input your website’s URL to get Ad Group and keyword suggestions. This isn’t mandatory, but it may save you some time.
Then enter an Ad Group name.
Step 4 – Choose Your Keywords
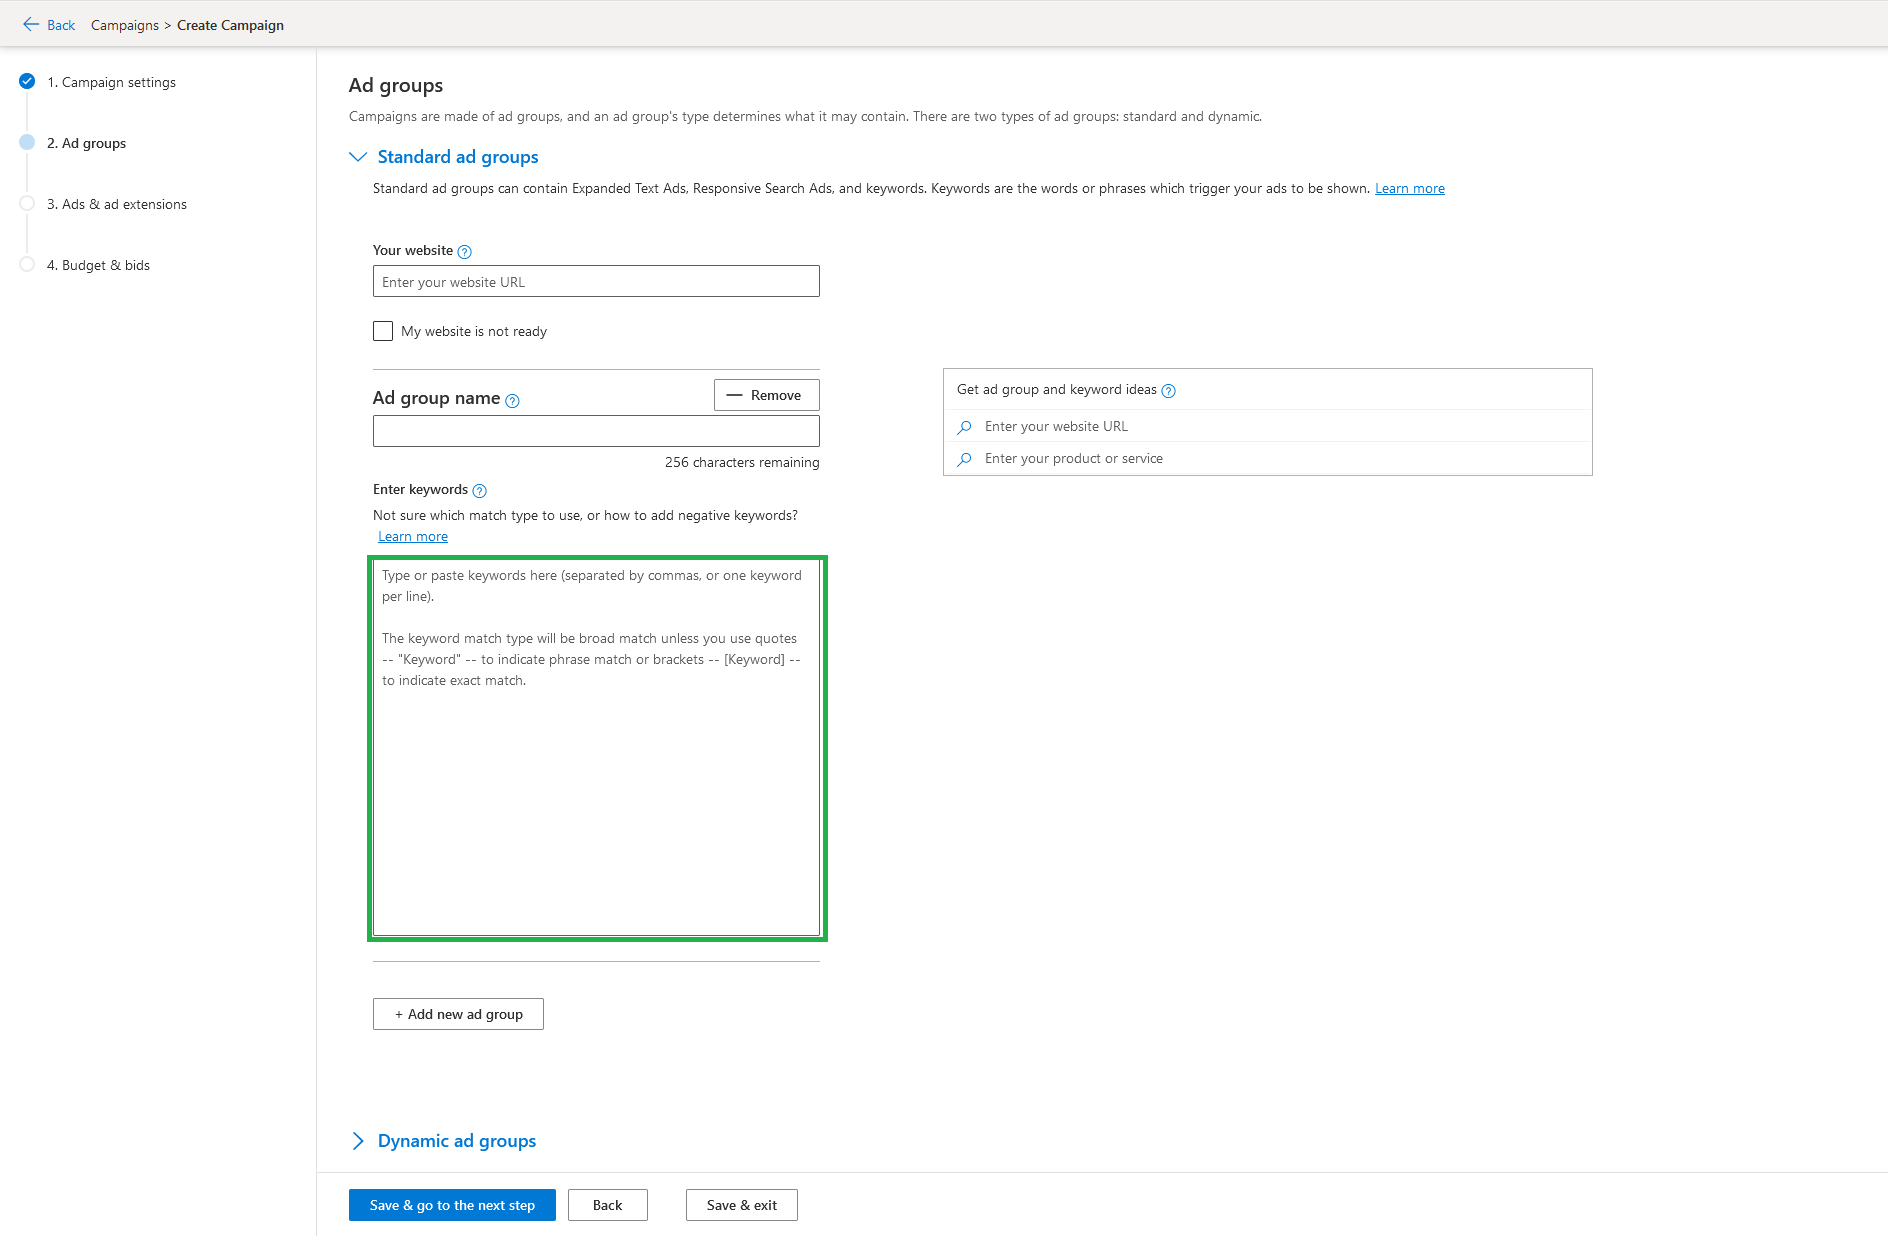
After you have put in your Ad Group data, you’ll then need to enter your chosen keywords. You won’t be able to publish your campaign without completing this step, and the keywords you choose play a pivotal role in the outcome of your campaign in terms of success.
Once you’ve done this, click ‘Save and go to next step’.
Step 5 – Create Your Ads
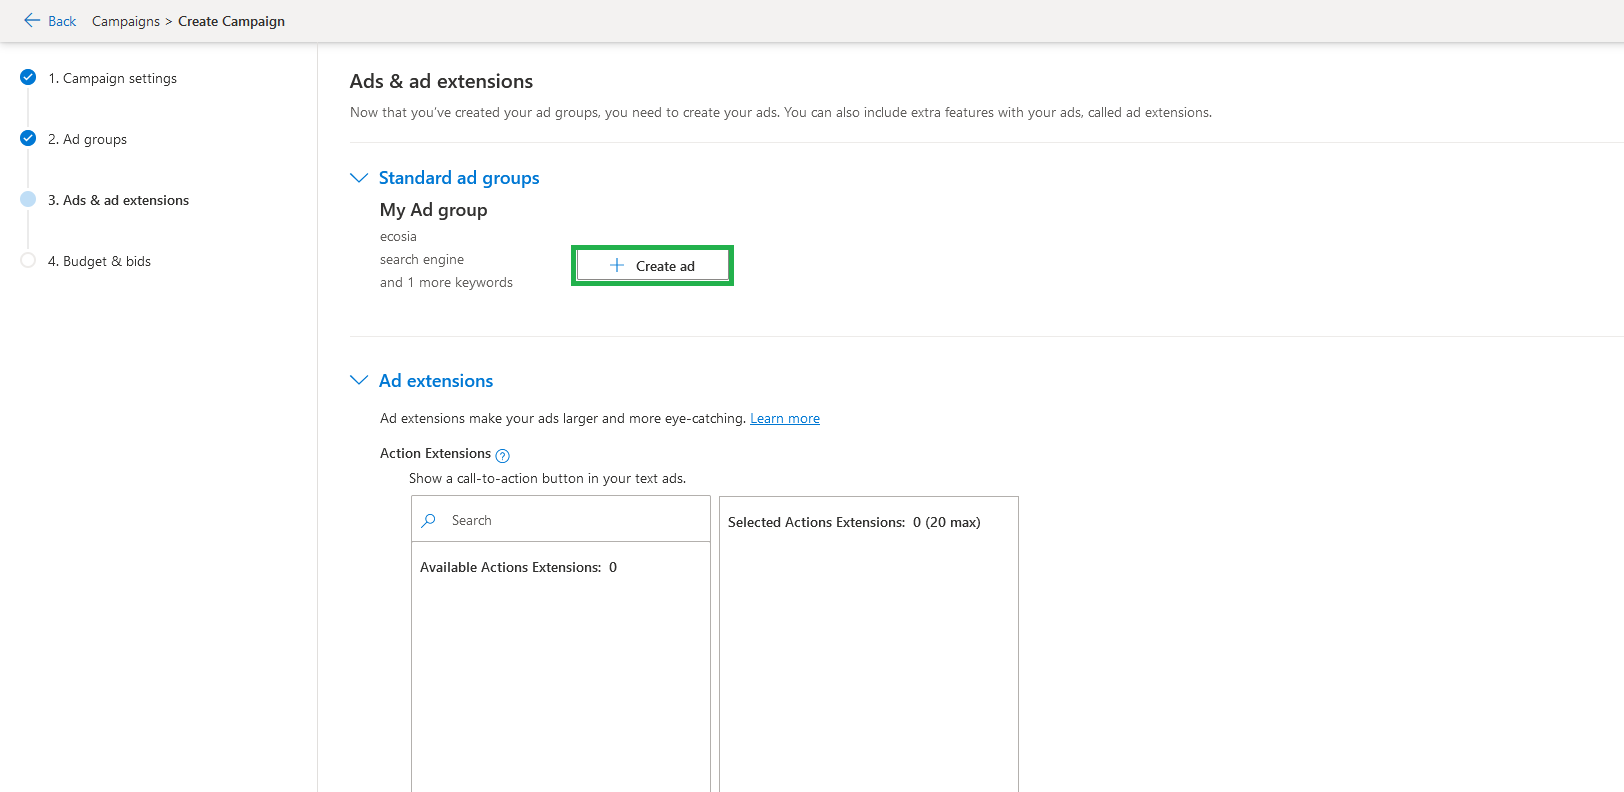
Define the URL and the titles and descriptions you wish to appear in your ad. Although not mandatory, you can also create Ad Extensions, which will help the visual side of your ad and make it more eye-grabbing to your audience. If you opt to do this, input the information and then click ‘Save and go to next step’.
Step 6 – Set Your Budget & Bids
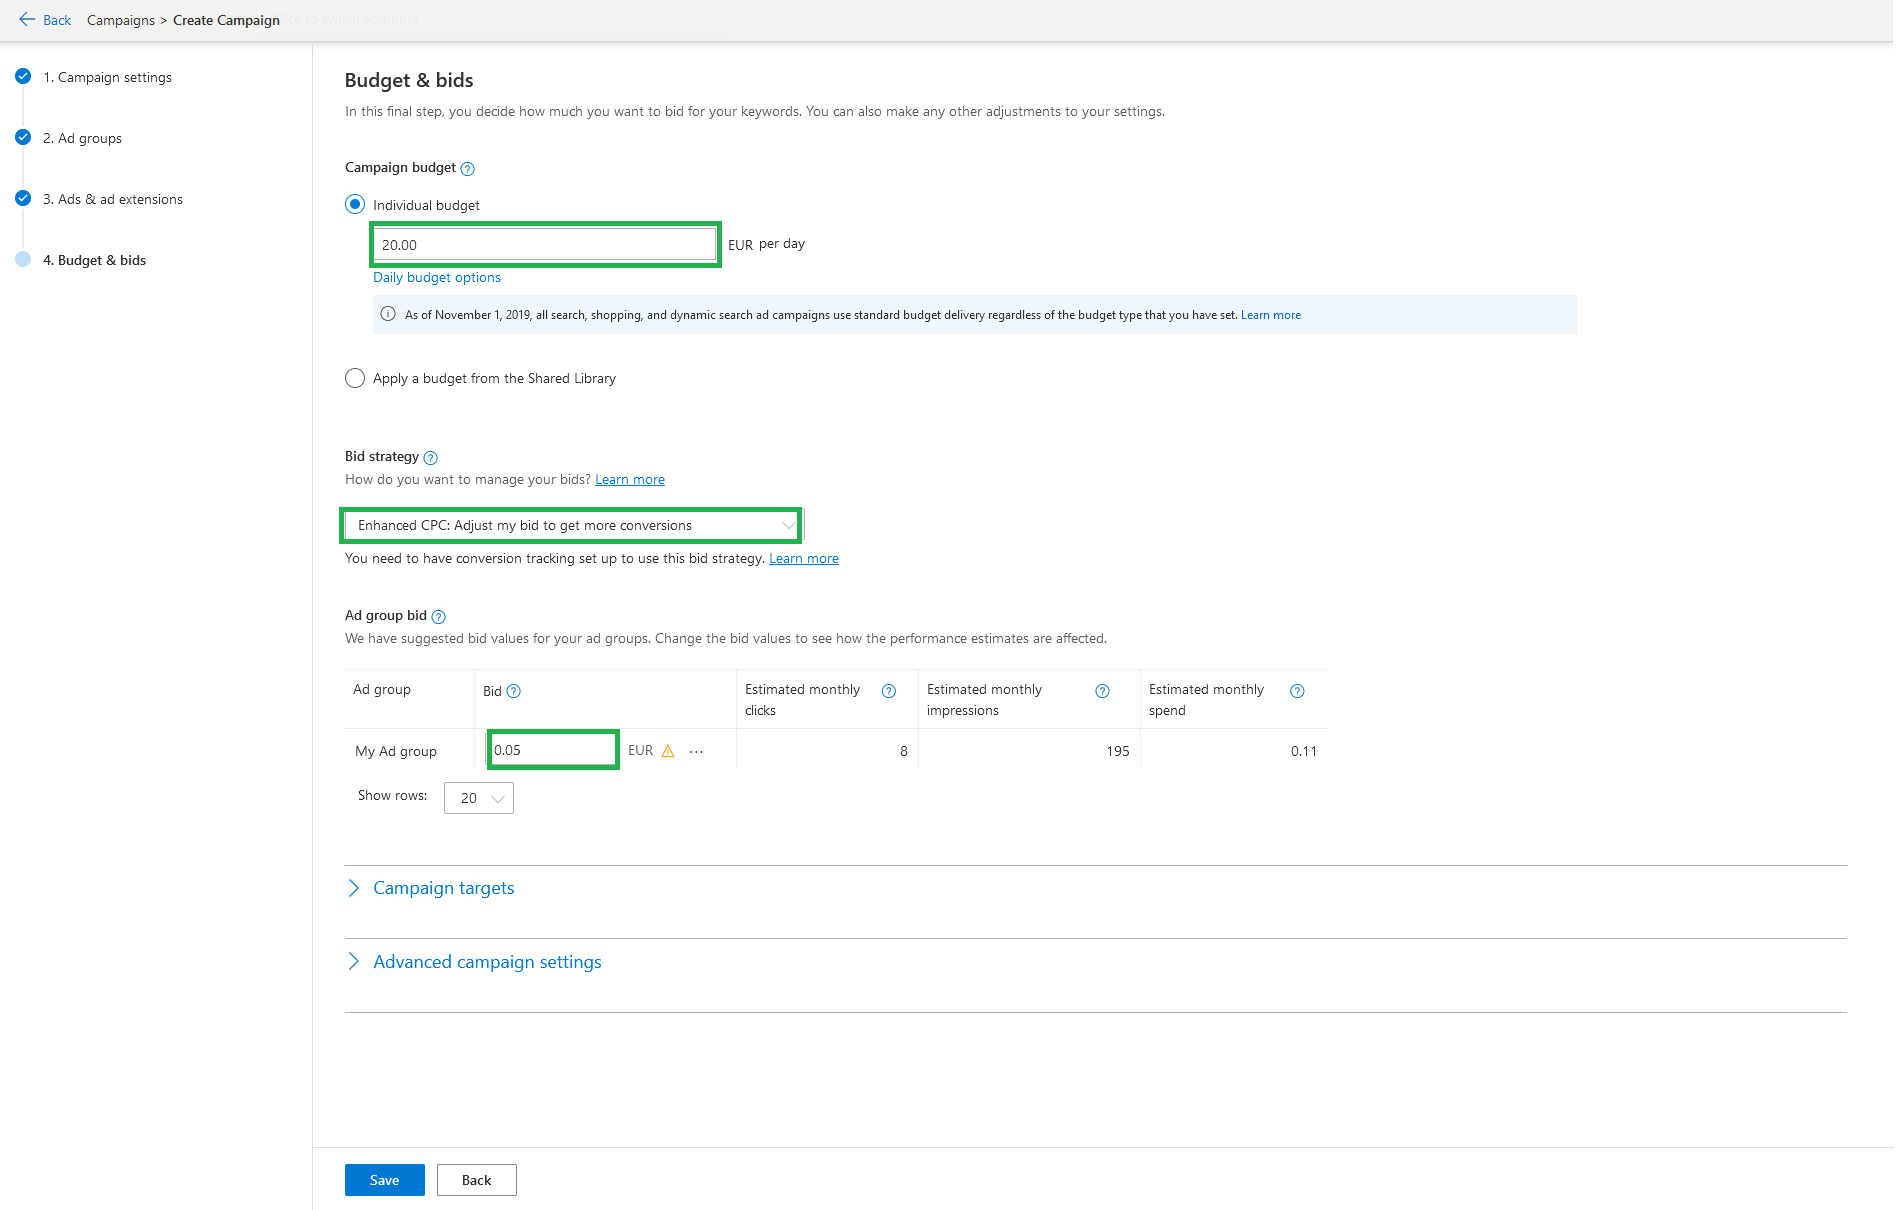
This part is all about implementing the monetary side of your campaign. You will also be able to set a bid strategy and adjust it per the Ad Group you have selected.
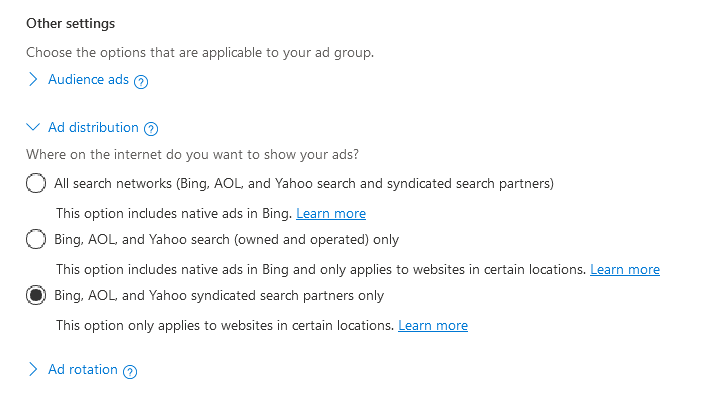
Once this is done, your campaign is ready to go live. But before you hit ‘Publish’, you’ll need to set the ad distribution to focus your campaign on the Bing and Syndicated Search Partner Network. This is located in the ‘Settings’ area of the ‘Ad Groups’ bar.
Step 7 – Your Campaign & the Syndicated Partner Network
Once you’ve clicked on the Ad Distribution area, choose ‘Bing, AOL, and Yahoo syndicated search partners only’ in the ‘Other Settings’ area.
Step 8 – Launch Your Campaign
You’re ready to rumble!
Your ads can now go live on Bing and the entire Syndicated Partner Network. Congrats!
Bing Ads: Best Practices
Now that your campaign is ready to go, you can implement a few practices to truly get the best out of it.
Conversion Tracking
If you wish to track your conversions once your campaign is live, you’ll need to get a tracking code from Bing to place on your website so that you can monitor what happens once a lead clicks on your ad campaign. You’ll need to do this even if you’ve imported a campaign from Google Ads, because Bing’s conversion code is different to Google’s.
Here’s how to add Bing’s native conversion code:
- Create your code
- Input it into your site
- Modify it
- Verify it
Campaign Importing
Because Bing is outshadowed by Google Ads, Bing has manipulated its strategy to allow you to import a campaign from Google over to Bing. It’s very recommended to use this feature if you have already worked with Google for your online marketing.
Optimise & Monitor
Once you’ve set up your UET code – make sure you use it to your fullest advantage to monitor your campaign and optimise as and when is needed.
Adjust Bids
If needed.
You can use the Bing Keyword Planner for free to help you adjust your bids based on estimated search volumes on this search engine. Because Bing boasts lower competition than that of Google, you may need to lower your bids.
Search Terms
Don’t expect these to be the same as with your Google Ads campaign. This is a different platform, so act accordingly. This goes for your keywords too.
Text Ads
Expanded text ads on Bing are the same format to that of those on Google Ads, so when testing your ad on Bing, be prepared that the ad’s message will likely be different because the demographic is slightly different. Testing your ads will show you these differences and how to optimise accordingly.
Conclusion
You’re now ready to create your first search ad on Bing. Whether importing data from Google Ads or starting afresh, be sure to treat Bing as a unique entity and create your campaign with Bing’s own optimisation tools and strategies in mind. And remember – test, test, test!
If you’d like to learn more about how we help B2B SaaS and Tech companies grow their MRR through Bing ads, contact us online or send us an email today at info@getuplead.com to speak with someone on our team.
You might also be interested:


